A self made felt heart with pouch to put your Mother's Day message in.
I found the tutorial through Vlijtig (I'm a regular follower of her blog). To make it a bit easier for myself I put a little bit of glue on the ribbon so when you sew the heart together the ribbon doesn't move and stays in the center. The great thing about this heart is that the person you give it to can recycle it and use it again with his or her own message. You can also use it to give money in as an alternative for the 'envelope'.
Friday, May 9, 2014
Monday, April 21, 2014
Fire engine red
My two year old nephew got a new room with a tractor theme. On his wall are three tractor stickers in fire engine red and two shades of blue. I already made him this playrug for his birthday with minitractors on it.
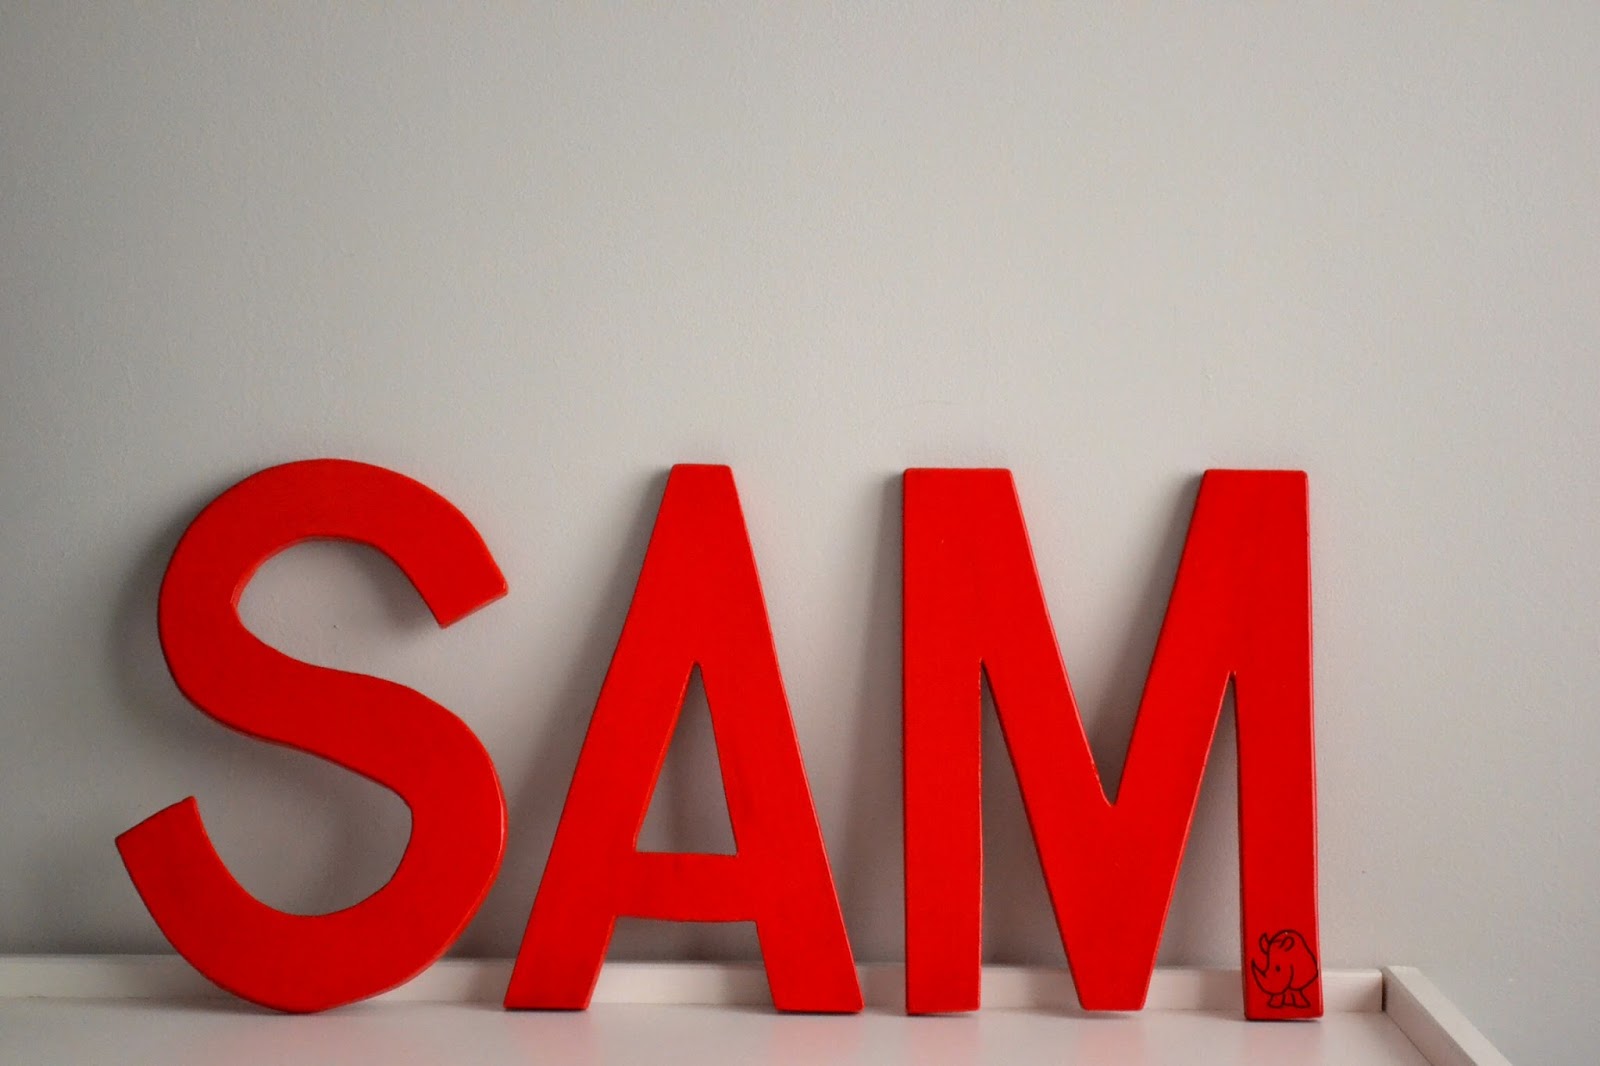
His brother Tom has his name in wooden letters on the wall of his room, so we made some for Sam too. Here is the result. I drew a little rhinoceros on the letter M because he is really into them. He calls them 'neus' (a rhinoceros is a neushoorn in Dutch).
Sunday, March 16, 2014
Own label
Friday, February 28, 2014
Half fabric, half knit
I didn't plan on it, but 2014 is turning out to be the year for finishing UFO's (UnFinished Objects). I cheated a bit with this one, because it was supposed to be a square pillow made out off little squares (8 knit and 8 purl). It turned out being a rectangular pillow with a back out of fabric instead of a knitted one. I ordered the fabric some time ago from Spoonflower, a company which makes it possible for people to design and sell their own fabric. The colours go well together, so I really like the end result.
Wednesday, January 22, 2014
Confetti
Photographics is what they are called, these lovely drawings on real photographs from de Verderkijker. I sent some actual confetti with this postcard (an idea I got from a friend)
Happy birthday!
Saturday, January 11, 2014
A new year
Out with the old.....
In with the new......
This lovely cabinet belonged to my parents-in-law. We decided to paint it a long time ago, but never got around to it. It was more work than we thought and it is always hard to imagine how the colour will actually look on the wood when you pick it out in the store, but we are quite pleased with how it turned out.
Tuesday, December 24, 2013
Felt balls
Yeah, it is finally finished! My wreath with needle felted balls. All balls felted by myself....that's why I didn't finish it last year around Christmas and it has been an UFO (unfinished object - my mum taught me this new abbreviation) laying around the house for several months. I learned this technique from my cousin from Atelier Love for Wool.
How to make a needle felt ball:
Materials:
- Wool roving (I got mine from Kleiendraad)
- A felting needle
- Foam block
- Soap
- Bowl of lukewarm water
First you take a peace of wool of about 15 cm long and you tie it into a knot. Wrap the ends around the knot so it already looks a bit like a ball. Stick your needle in from different sides and angles. Use your foam block so that you don't stick the needle in the surface your working on. You'll notice that your ball will get firmer. Dip it into your bowl of lukewarm soapy water and roll it between your hands into a nice ballshape. Let it dry and you can use the balls to decorate whatever you want.
Subscribe to:
Posts (Atom)